
Business
How To Create Tote Bags in 2026: A Step-by-Step Guide on Using Design Tools
A practical guide for designers, small brands, event organizers, and hobbyists who want to create polished tote bag visuals using modern mockup design tools.
Introduction
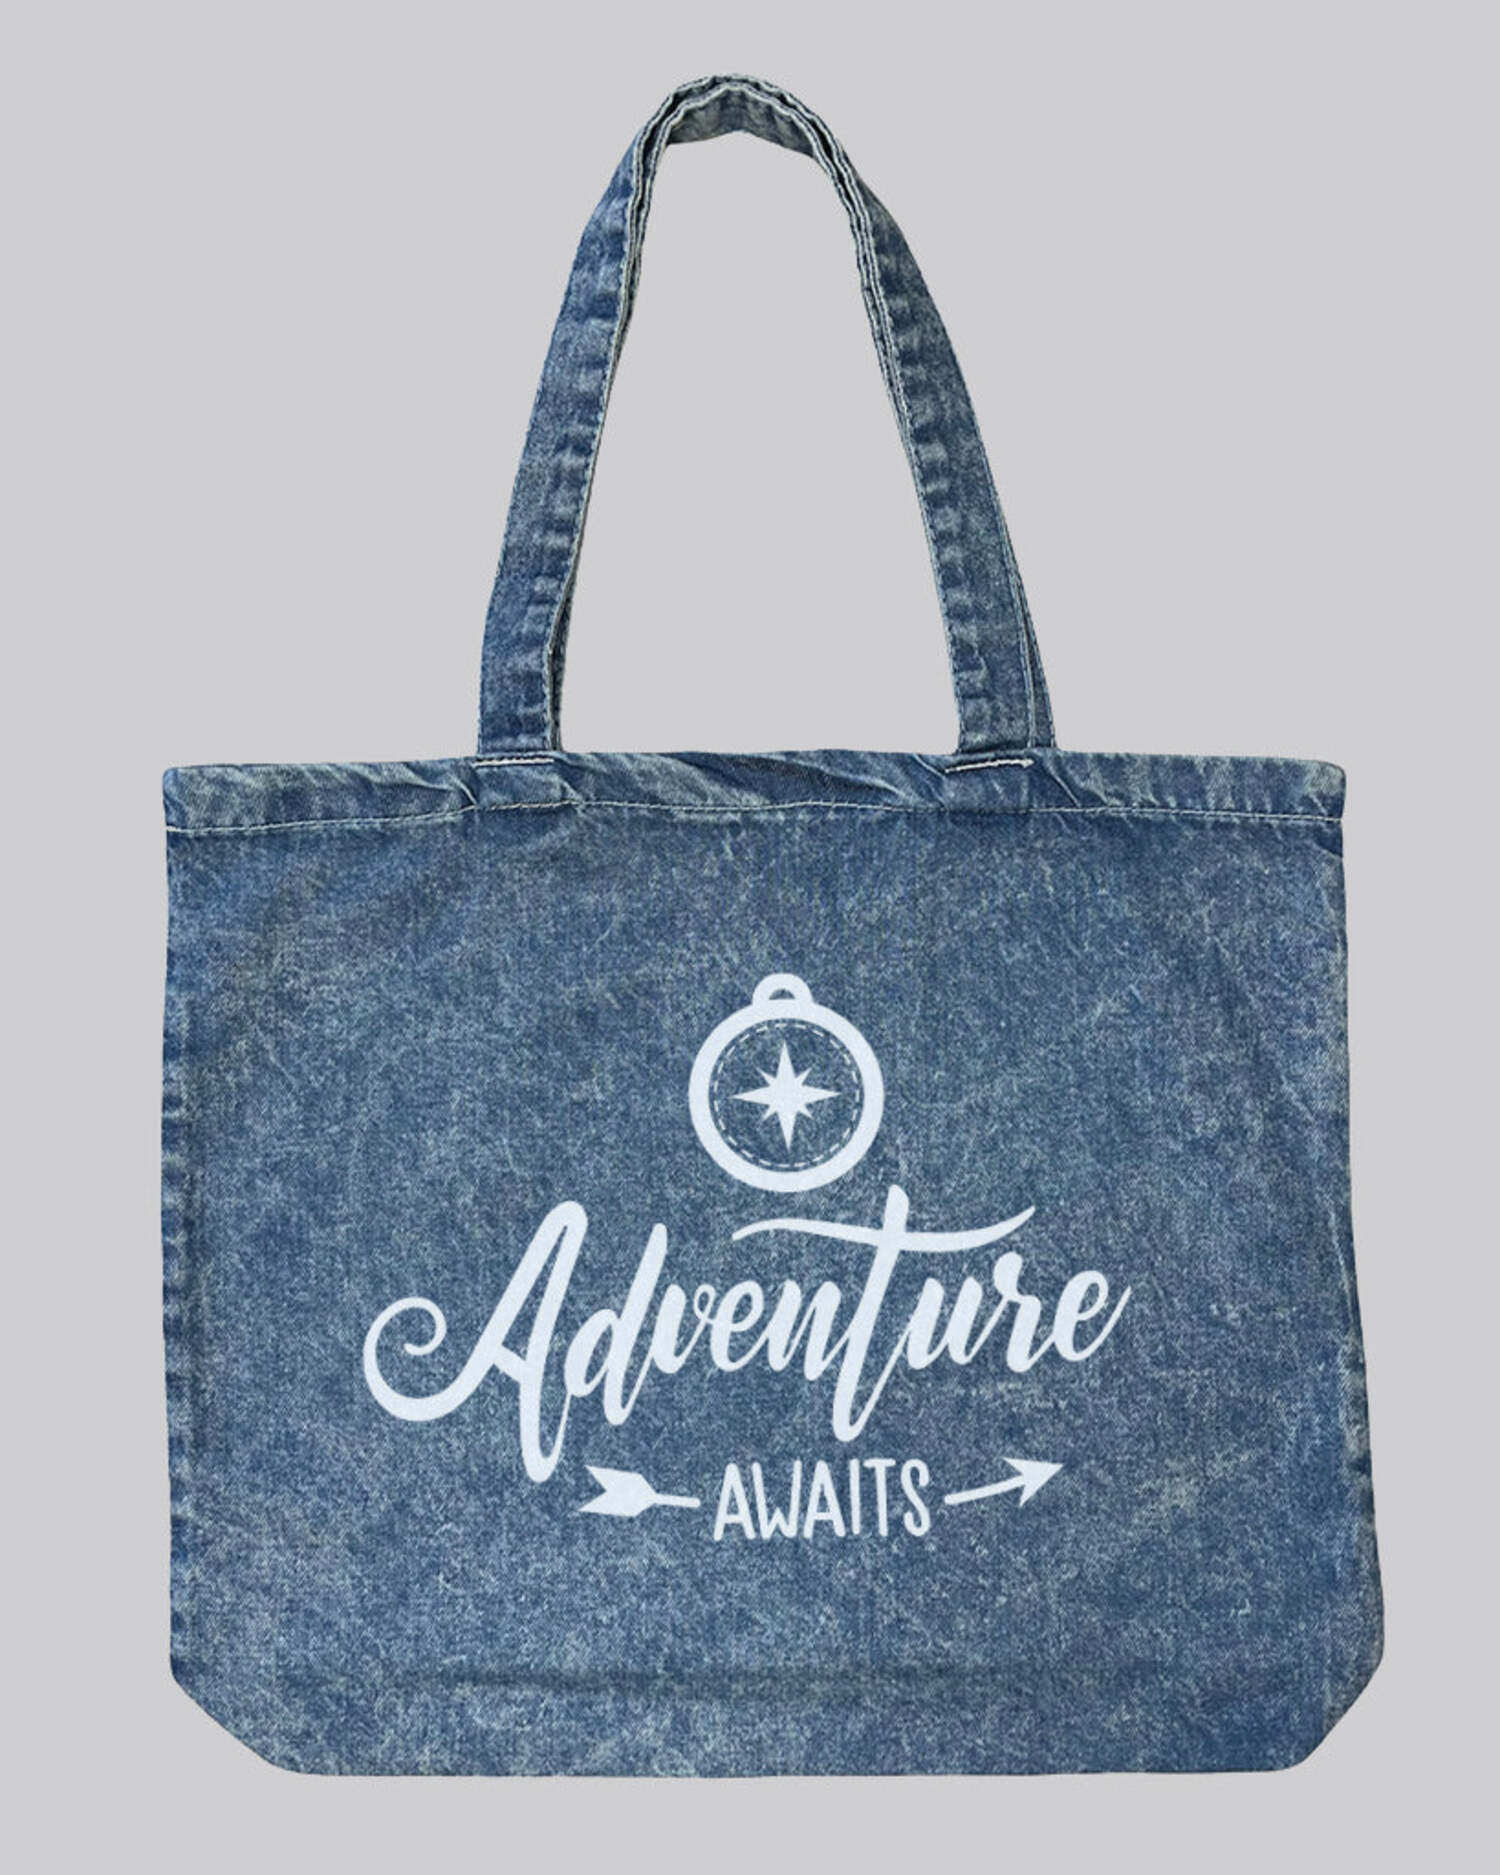
Tote bags remain a staple format for merchandise, retail products, conference giveaways, and internal brand kits. They are simple objects, but visually unforgiving: spacing errors, weak contrast, or poorly scaled artwork are immediately noticeable on canvas fabric.
Tote bag mockup design tools make it possible to preview how artwork will look on a realistic product before production. These tools help bridge the gap between flat digital design and physical printing, allowing creators to adjust layout, typography, and color early in the process.
Browser-based platforms such as Adobe Express’ tote bag design template offer structured layouts and mockup previews that simplify this workflow. Used thoughtfully, they allow designers to focus on clarity, balance, and proportion rather than technical setup.
The steps below outline a neutral, production-oriented process for creating tote bag designs that feel deliberate and professionally finished.
Step-by-Step How-To Guide for Using Tote Bag Mockup Design Tools
Step 1: Clarify the purpose and constraints
Goal
Define what the tote is for and the conditions it will be used in before starting the layout.
How to do it
- Identify the primary context (retail, promotional giveaway, team kit, resale merchandise).
- Define the audience and tone (minimal, typographic, illustrative, corporate).
- Confirm approximate tote size and fabric color.
- Note any print limitations from the vendor (ink count, placement area, color mode).
- Gather brand assets (logos, font files, color codes).
What to watch for
- Designing without knowing the tote’s base color.
- Creating artwork too detailed for the intended print method.
- Mixing incompatible brand styles in one layout.
Tool notes
- Adobe Express’ tote bag design template provides preset canvas sizes and quick mockup previews to begin structuring the design.
- A structured planning board in Notion can help document audience, tone, and print constraints before layout begins.
Step 2: Establish a balanced base layout
Goal
Create a composition that feels centered, proportionate, and appropriate for canvas material.
How to do it
- Start with a centered layout for clarity, especially for text-heavy designs.
- Maintain a safe margin of at least 1–1.5 inches from all edges.
- Test both square and vertical compositions.
- Resize artwork to realistic scale rather than designing zoomed-in.
- Duplicate variations for side-by-side comparison.
What to watch for
- Text placed too close to seams.
- Artwork that appears balanced on screen but small in real-world proportion.
- Visual weight concentrated at only the top or bottom.
Tool notes
- Adobe Express allows repositioning and scaling elements directly on tote mockups.
- For precision alignment and grid-based spacing, Figma can help verify margins and proportional balance before export.
Step 3: Refine typography for fabric clarity
Goal
Ensure that text remains legible and stable when printed on textured material.
How to do it
- Use medium to bold font weights for small text.
- Increase letter spacing slightly to avoid ink fill-in.
- Limit the design to two font families.
- Avoid extremely thin script or decorative fonts.
- Test contrast between text and bag color.
What to watch for
- Overly tight kerning.
- Low-contrast tone-on-tone layouts.
- Font styles that rely on delicate strokes.
Tool notes
- Adobe Express provides accessible font editing controls within its template system.
- To confirm readability contrast ratios, WebAIM Contrast Checker can validate color combinations before final export.
Step 4: Adjust color and material realism
Goal
Preview how ink colors will appear on canvas rather than a backlit screen.
How to do it
- Toggle between light and dark tote mockups.
- Slightly reduce saturation if colors appear overly bright.
- Avoid relying on subtle gradients.
- Compare brand colors against reference values.
- Export a flattened preview for review.
What to watch for
- Neon tones dulling on fabric.
- Subtle shadows disappearing in print.
- Transparent overlays that may not translate cleanly.
Tool notes
- Adobe Express includes realistic tote previews across multiple color backgrounds.
- For sampling and confirming exact color values across displays, Digital Color Meter can verify on-screen color consistency.
Step 5: Test real-world scale and viewing distance
Goal
Confirm that the design reads clearly when viewed at arm’s length.
How to do it
- Zoom out until the tote appears approximately hand-held size on screen.
- Print a scaled paper version and view it from a distance.
- Compare scaled-down and enlarged versions.
- Evaluate hierarchy: logo vs. message vs. graphic.
- Confirm spacing between handles and artwork.
What to watch for
- Oversized logos overwhelming the design.
- Small decorative icons becoming illegible.
- Dense text blocks lacking breathing room.
Tool notes
- Adobe Express makes it easy to duplicate artboards for scale testing.
- For collecting structured team feedback during review, Miro can centralize visual comments and comparisons.
Step 6: Prepare a production-ready export
Goal
Deliver a file that meets printer specifications and reduces revision cycles.
How to do it
- Confirm final dimensions and 300 DPI resolution.
- Flatten effects that may not translate in print.
- Convert text to outlines if required by the vendor.
- Remove hidden layers or unused elements.
- Export in the requested file type (PDF, PNG, or vector format).
What to watch for
- Submitting RGB files when CMYK is required.
- Embedding low-resolution raster images.
- Forgetting to preserve safe margins.
Tool notes
- Adobe Express supports high-resolution exports suitable for many print workflows.
- If format conversion is required before submission, CloudConvert can standardize file types without redesigning the layout.
Step 7: Coordinate production and distribution
Goal
Move from digital mockup to physical tote without avoidable delays.
How to do it
- Request a digital proof before approving bulk production.
- Confirm quantities and timelines.
- Track version control if multiple designs exist.
- Document final artwork specs.
- Monitor shipment and delivery.
What to watch for
- Color shifts between proof and final batch.
- Alignment drift in large runs.
- Missed deadlines for events or launches.
Tool notes
- Adobe Express allows easy duplication and archiving of final versions.
- For managing shipping labels and tracking fulfillment, ShipStation can coordinate distribution after printing is complete.
Common Workflow Variations
1. Photo-Based Tote Designs
When using photography, prioritize high-resolution images and strong contrast. Minimal text overlays typically work best. Adobe Express can apply simple overlays and adjustments, while layout refinement can be validated externally before export.
2. Pattern-Based or Repeating Designs
For repeating motifs, ensure seamless spacing and even margins. Keep edge-safe areas in mind to avoid awkward cropping during print trimming.
3. One-Off Gift vs. Small-Batch Selling
For a single tote, design flexibility is higher. For small-batch retail, consistency across files and strict margin adherence become more important.
4. Typography-Only Minimal Designs
Text-focused totes require careful spacing and confident font selection. Scale testing becomes especially important for readability.
Checklists
Before You Start Checklist
- ☐ Confirm tote dimensions and printable area
- ☐ Gather logo files in vector format
- ☐ Verify brand color codes
- ☐ Identify print method (screen print, DTG, etc.)
- ☐ Confirm fabric color
- ☐ Determine target audience and tone
- ☐ Collect required vendor file specs
- ☐ Plan margin and safe-zone spacing
Pre-Export / Pre-Order Checklist
- ☐ Resolution set to 300 DPI
- ☐ Correct color mode (RGB or CMYK per vendor)
- ☐ Text converted to outlines (if required)
- ☐ No hidden layers or unused assets
- ☐ Artwork aligned within safe margins
- ☐ Proof reviewed at reduced scale
- ☐ File saved in correct format
- ☐ Version labeled clearly
Common Issues and Fixes
Low-resolution images
Replace raster files with higher-resolution originals. Avoid scaling small images upward.
Text too close to edges
Re-center artwork and expand margins. Tote seams often crop closer than expected.
Color shifts after printing
Adjust saturation slightly downward and confirm printer color mode requirements.
Design appears smaller than expected
Increase artwork scale and re-test at viewing distance before re-exporting.
Typography looks heavier on fabric
Increase letter spacing and avoid extremely thin strokes in small sizes.
How To Use Tote Bag Mockup Design Tools: FAQs
Should I design directly on a mockup or on a blank canvas first?
Starting on a mockup helps visualize placement and scale earlier. Designing on a blank canvas may allow more layout flexibility but requires later mockup testing.
What file format is safest for print vendors?
Many vendors accept high-resolution PDF or PNG files. Some require vector formats for screen printing. Always confirm vendor specifications.
How many colors should I use?
Screen printing often limits color count. Digital printing allows more variation but may alter subtle tones. Simpler palettes typically reproduce more consistently.
Is a template necessary?
Templates reduce setup time and provide structured margins. They are particularly helpful for first-time tote designers.

How Certified Menopause Fitness Coaching Supports Midlife Fitness

How to Design a Garden That Works for Every Season

Certified CPR Training for Workplace and Safety Compliance

How To Create Tote Bags in 2026: A Step-by-Step Guide on Using Design Tools

Upgrade Your Running Performance with Watch GT Runner 2 Technology

Nervous Patients Are loving The “Calm Approach” at This Dentist Sunderland

Dentist Gateshead Explained, From Routine Checkups to Advanced Care

Assisted Living Insights: Balancing Care and Personal Freedom

The Art Deco kitchen: cooking and baking in glittering sophistication

How to Structure a Business Case Study for UK Masters Programmes

Mary Marquardt: The Untold Story of Harrison Ford’s First Wife

How Old Is Roux Lopez? WWE Stars Becky Lynch & Seth Rollins’ Daughter

Ellen van Lochem: The Quiet Force Behind AC/DC Legend Angus Young

How Old Is Marina Pearl LeBlanc? All About Matt LeBlanc’s Only Child

Kim Sexton Mattingly: The Woman Behind MLB Legend Don Mattingly

Ringwood Church Services, Events and How to Get Involved

Raquel Pedraza: Former Tennis Player and Taylor Fritz’s Ex-Wife

Zing-Ci Leung About: Life Before and After Donnie Yen

Jacelyn Reeves: The Private Life of Scott Eastwood’s Mother

Who Is Norma Gibson? Ex-Wife of Tyrese Gibson Explained
How Certified Menopause Fitness Coaching Supports Midlife Fitness
How to Design a Garden That Works for Every Season
Certified CPR Training for Workplace and Safety Compliance
How To Create Tote Bags in 2026: A Step-by-Step Guide on Using Design Tools
Upgrade Your Running Performance with Watch GT Runner 2 Technology
Nervous Patients Are loving The “Calm Approach” at This Dentist Sunderland
Dentist Gateshead Explained, From Routine Checkups to Advanced Care
Assisted Living Insights: Balancing Care and Personal Freedom
The Art Deco kitchen: cooking and baking in glittering sophistication
How to Structure a Business Case Study for UK Masters Programmes
-
 Celebrity1 year ago
Mary Marquardt: The Untold Story of Harrison Ford’s First Wife
-
 Celebrity1 year ago
How Old Is Roux Lopez? WWE Stars Becky Lynch & Seth Rollins’ Daughter
-
 Celebrity1 year ago
Ellen van Lochem: The Quiet Force Behind AC/DC Legend Angus Young
-
 Celebrity1 year ago
How Old Is Marina Pearl LeBlanc? All About Matt LeBlanc’s Only Child